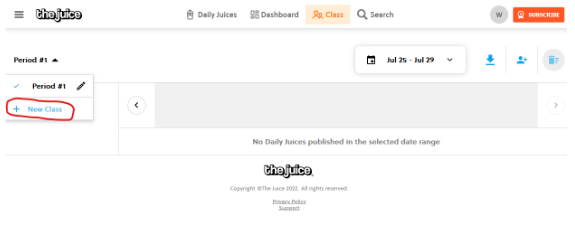
Upon registering, new free trial users have a single class established in their account. If you have additional classes, those will need to be created. To do so, navigate on the top rail to the “Class” link and then click on “New Class” from the left drop down.
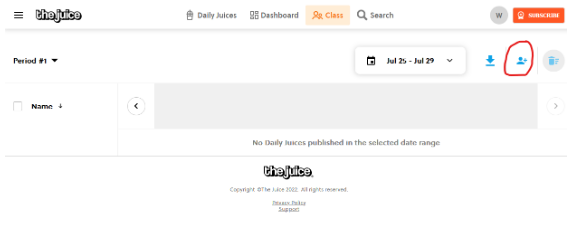
You can roster your first set of students in any of three ways: manually, by sharing a class code, or by importing. You’ll need to do this process separately for each class you are rostering. Start by selecting the class you will roster.

Then click on the student icon in the upper right-hand corner
We suggest selecting the “Direct Link” and then sending it to your students either through your own email system or via your LMS.
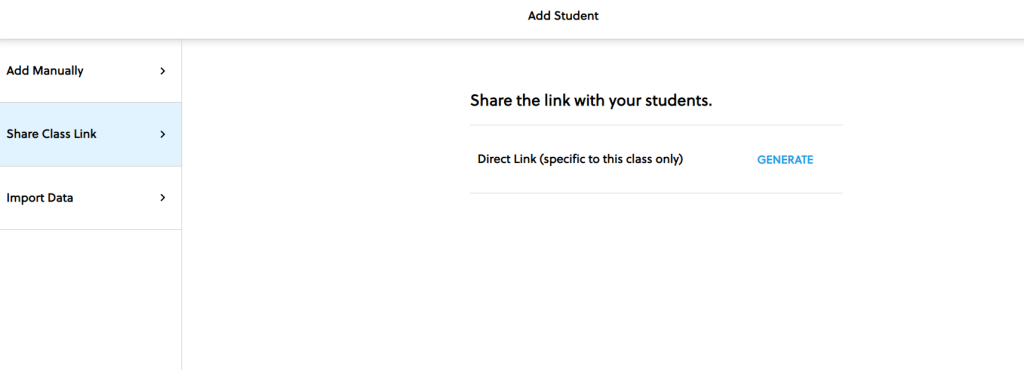
Click on the “Generate” next to “Direct Link” and you’ll see this pop-up:
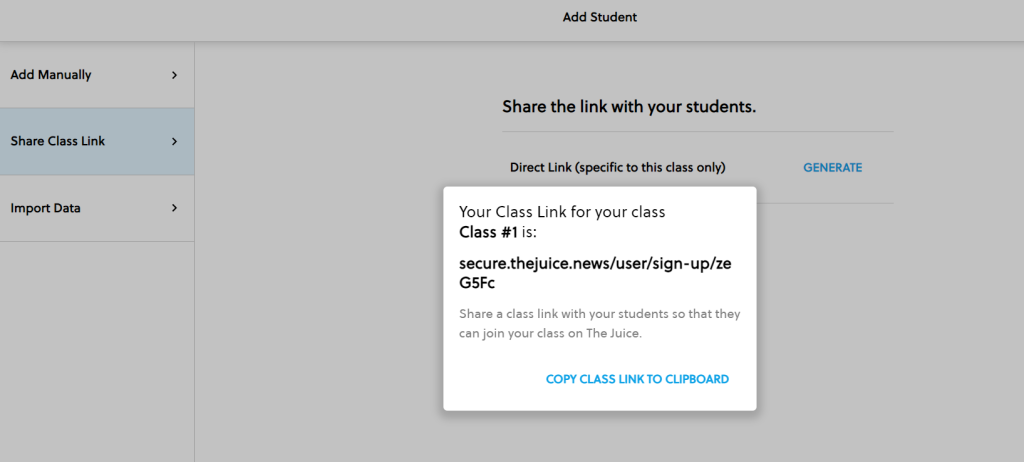
Copy the Class Link and share it with your first class students. Repeat this for the next (and any subsequent) class since they will have different class codes.
Now you will be good to go for your first wave.
How to Download Student Data
If you teach a class for a portion of the year and then add new students in a subsequent semester, you’ll probably want to download your student performance data before overwriting the class with new students. To download your data, click on the blue arrow in the upper right hand and select the entire period.

You will soon see a spreadsheet with your class’s data. The number you see will be the number of questions answered correctly by each student for that specific edition. It’ll look something like this:

Adding New Students
Now that you have your data from the students whose time with you is ending you can start populating your classes with the new students who will be entering.
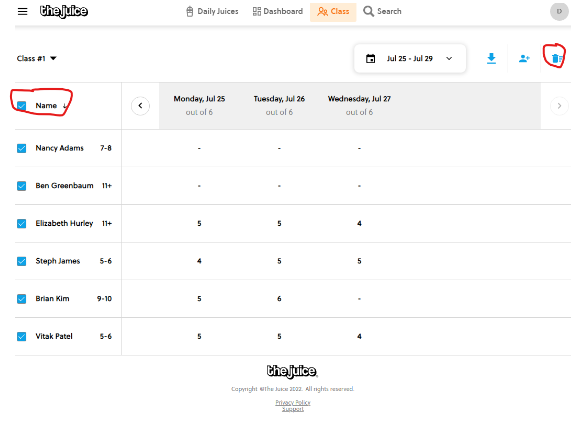
First, you’ll need to delete the old students.
Select all the students in the class and then click on the trash can icon in the upper right-hand corner.
You’ll then get a pop-up window asking you to confirm your intent to delete.

After you’ve deleted students in your classes, you’re ready to repeat the adding process for your new term.
Still have questions? Watch this video walkthrough.


